How to get the best result when washing your deck
As you spend more and more time on your outdoor deck, you’ll notice some changes. Things can start to accumulate, whether it’s leaves and debris piling up in the corner, light spots surrounding your planters and pots, or drips and spills by the barbecue.
You’ll want to get rid of these unsightly areas before your next outdoor gathering, but what is the best way to achieve that? We’ve got you covered with the best ways to knock out your spring deck cleaning safely and effectively.
The power washer question
Power washing might seem like the quickest and easiest way to clean between your deck boards. But before you power it up, we would recommend doing some research so you can make sure you don’t unwittingly do any damage to your decking! For example, power washing a wooden deck can cause the boards to splinter and may damage the fibres of the wood, especially if they are already showing signs of starting to rot.
While composite decking is significantly more durable than timber, it may surprise some people to learn that it can also be susceptible to power washing damage. Depending on the material, the deck boards can begin to scar if the pressure is too high. In some serious cases, power washing can cause the material to chip! Serious damage can affect your warranty, and because pressure washing generally isn’t covered, the cost of repairs will likely fall on you – definitely a situation to avoid.
Quality composite materials from companies such as Trex should be washed on a semi-annual basis, with spring and autumn being the most conducive seasons to the weather. A basic cleaning with a composite deck cleaner or a combination of soap, hot water, and a soft-bristle brush is recommended. Keep in mind that bleach or acid products will lighten Trex’s surface.
So should you ever-power wash a deck?
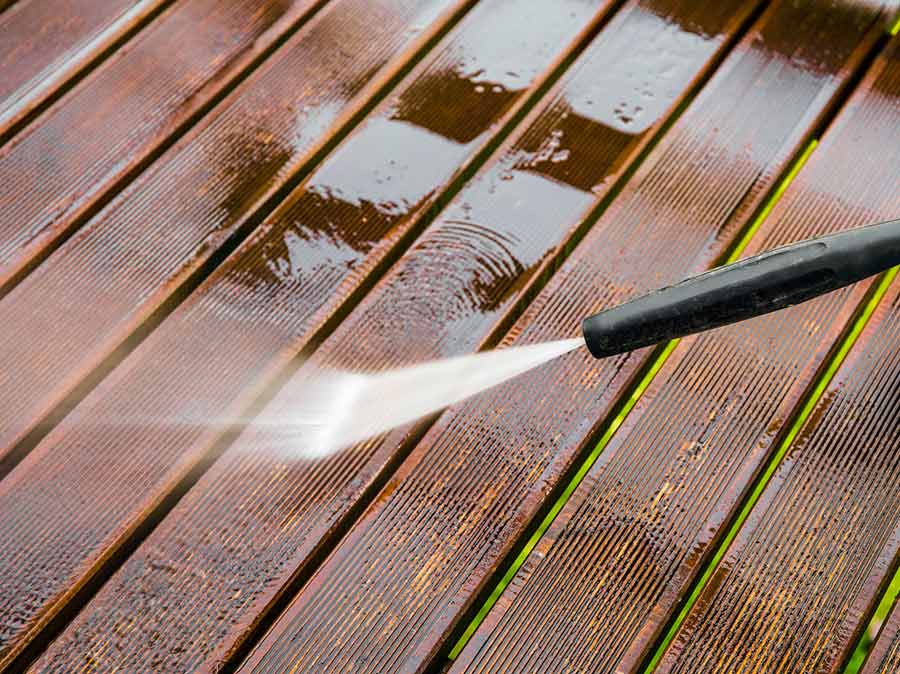
The main issue that causes damage from power washing is pressure. Some washers might have a ‘low’ setting that can help clean the deck – even so, you may decide that it’s better to leave this to the professionals. But if you are to do it yourself, there are a few things to know first.
Keep the washer’s nozzle at least two feet off the surface you’re washing and use a device with a fan tip attachment and a soap dispenser to remove soil and dust. It would help if you sprayed the entire deck with soap and then gently scrubbed each board with a soft bristle brush.
Always rinse the deck thoroughly to avoid dirty water drying on the surface and leaving a thin layer of grime on the deck.
If, however, you choose to hire a professional, ensure that they have experience working with decks and use a lower pressure setting (less than 1,500 PSI).
Sanding Afterwards
For timber decks, power washing shouldn’t etch or erode the wood if you’ve followed these directions. Just remember that when wood gets wet, its fibres may become raised, making the surface rougher and possibly leading to splintering. That’s why we recommend waiting until the deck is completely dry before sanding.
If you’ve kept damage to a minimum by power washing carefully, you may just need a spot-sanding, focusing on the areas that need it most. However, if you’re planning on restaining or resealing the surface, you’ll need to sand the full deck to ensure the surface is smooth and the boards won’t splinter. Sanding the deck will also open up the wood’s pores so it can absorb the stain or sealant consistently.
Handrails are at a higher risk for splintering, so don’t use too fine sandpaper because this can clog those pores and prevent the stain or sealant from soaking properly. For handrails, use no finer than 100-grit sandpaper; for the surface, use between 60- and 80-grit. The best sander for a wood deck is a random orbit sander with a 5-inch sanding pad.
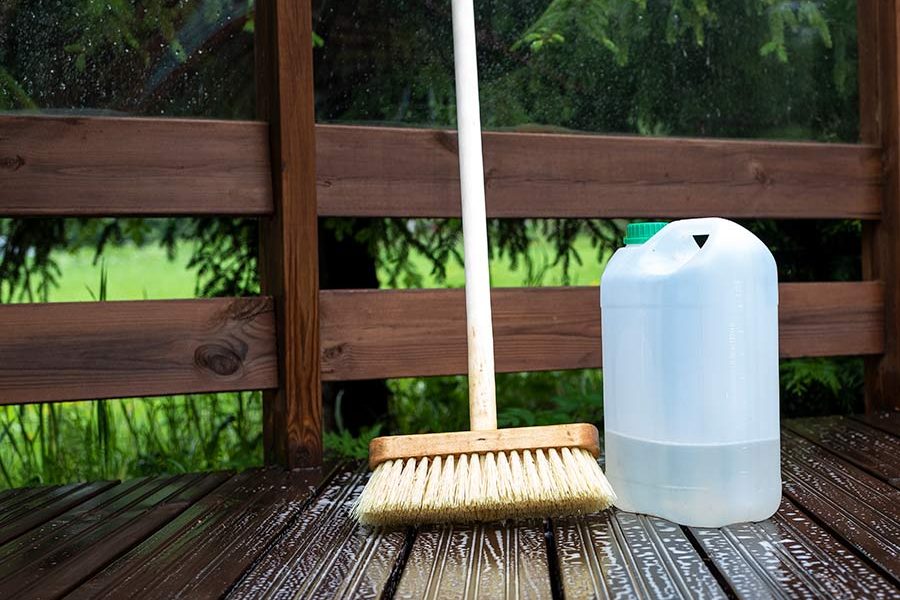
Cleaning Without a Pressure Washer
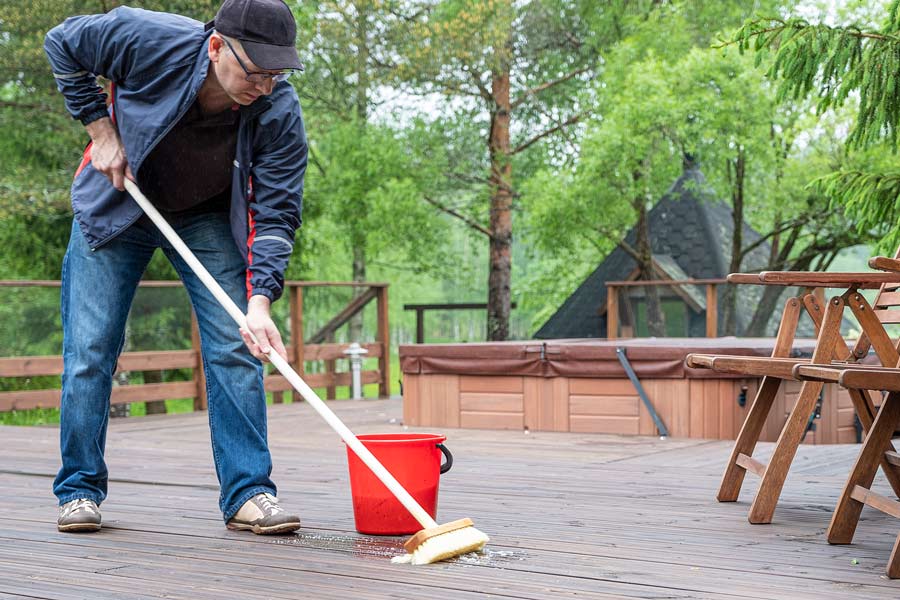
If you don’t want to use a pressure washer to clean your deck, or hire a professional to do the job for you, your best bet is to clean it with soap and water. You’ll need a broom, garden hose, bristle brush, and a biodegradable deck-cleaning solution (dish soap can be a good substitute).
To clean:
- Remove everything from the deck surface (furniture, plants, etc.).
- Sweep the deck for any leaves or debris (pay special attention to the corners, between the boards, and any small crevices).
- Test your cleaner on a small area to ensure it won’t stain.
- Clean with water, cleaning solution and your brush.
- Scrub the entire deck.
- Rinse all the water off with the hose (be sure not to leave any behind).
- Let it dry completely before moving the furniture back.
But because not every cleaning situation is the same, we offer the following tips on cleaning composite decking:
Dirt & Debris: Spray the area with a hose to remove everything from the surface, and then use warm, soapy water and a soft-bristle brush to remove soil and debris from the embossing pattern.
Tannin Caused by Debris: Tannin is a natural organic preservative produced by plants and trees to help deter predators. Stains caused by tannin will become visible on timber decking after rain as it is drawn to the deck surface. First, to remove a stain, hose off or sweep away any debris from the surface. Once dry, apply a deck brightener per the instructions. These contain oxalic acid, which will remove the tannins.
Chalk Lines: High permanence chalk lines may discolour the surface. Use only Irwin Strait-Line® Dust-Off Marking Chalk (purple) available at www.Irwin.EU.
Oil & Grease: All food stains should be dealt with as soon as possible, especially if you want to maintain the stain warranty. The warranty requires cleaning stains within seven days. Spray with your hose and use warm, soapy water and a bristle brush to remove spills from the embossing pattern to clean the food stain.
Mould & Mildew: Debris from nature, like pollen, soil, etc., can gather mould and moisture if left unswept from the surface. Be sure to remove this by using warm, soapy water and a bristle brush.
Unfortunately, not every deck is salvageable, and perhaps it is time for a replacement or upgrade anyway. If your deck is beyond stripping, sanding, restaining, and repairing, it’s probably best to go back to the drawing board. When you start anew, the best way to ensure your deck lasts is to prepare as soon as possible! Be sure to use a flashing tape such as Trex Protect to keep it safe from the seasons’ weather. With your newly-learned deck cleaning techniques, Trex’s waterproofing guarantee will ensure your outdoor space will stand sturdy for years!


