Trex® installation tips
Before installing any Trex product, you should review local building codes and regulations, and consult with local building officials, to ensure compliance and safety. Please also make sure you read the Trex Installation guide before commencing on the installation. To find your nearest stockist click here.
Trex Transcend Composite Decking - How To Install
Important points about the substructure
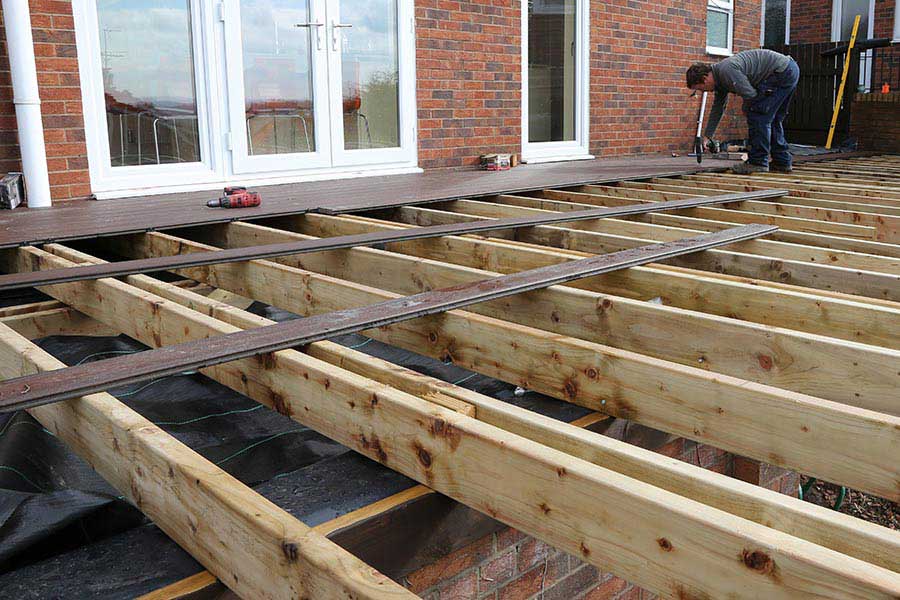
- Timber, composite, aluminium or steel joists are acceptable materials for the substructure of a deck. The substructure must be fixed down to provide a strong base and drainage, access and airflow are also critical.
- The substructure must be a minimum height of 38mm from the ground. For areas with the potential for debris to build up, a minimum 89mm is recommended to allow the debris to be removed.
- The joist centres for residential decks must be a maximum of 400mm.
- The joist centres for all commercial decks must be a maximum of 300mm.
- When boards are end-to-end and meet at a joist, use side-by-side sister joists to support the end of both boards.
- It’s a good idea to paint the joists before installing the boards so that they’re not visible from the surface.
Tips about the deck boards
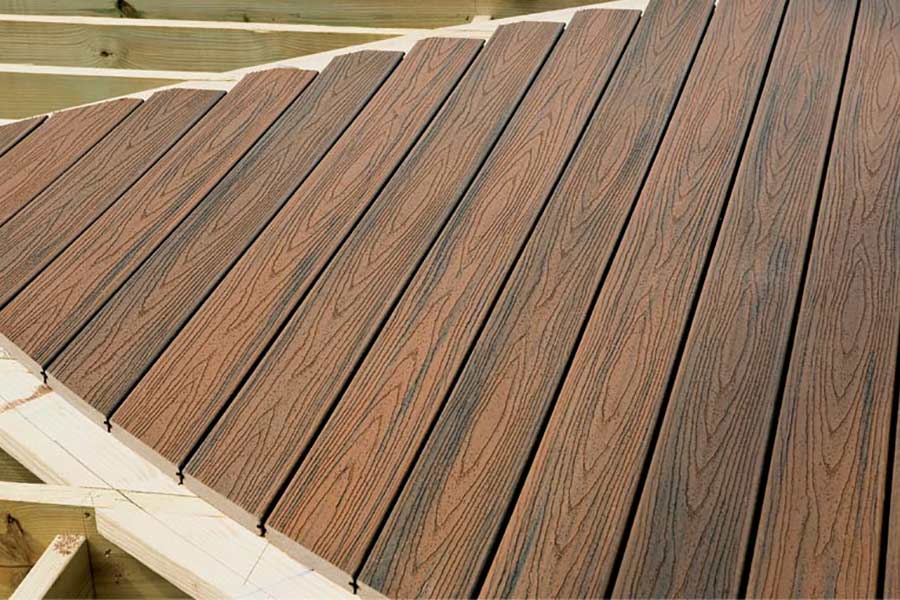
- All Trex boards are unique – no two boards are the same and as with normal timber the colour can vary greatly between the boards. To get a good colour spread, pattern and look that you are happy with, lay out all the boards and arrange them as you’d like them to be installed.
- The Trex deck boards can be cut and carved like timber without the need to use any special tools. All boards have a tolerance of up to 5mm on the length to ensure they can be trimmed down into shape. We recommend that all boards are trimmed before being installed to ensure a straight and clean edge.
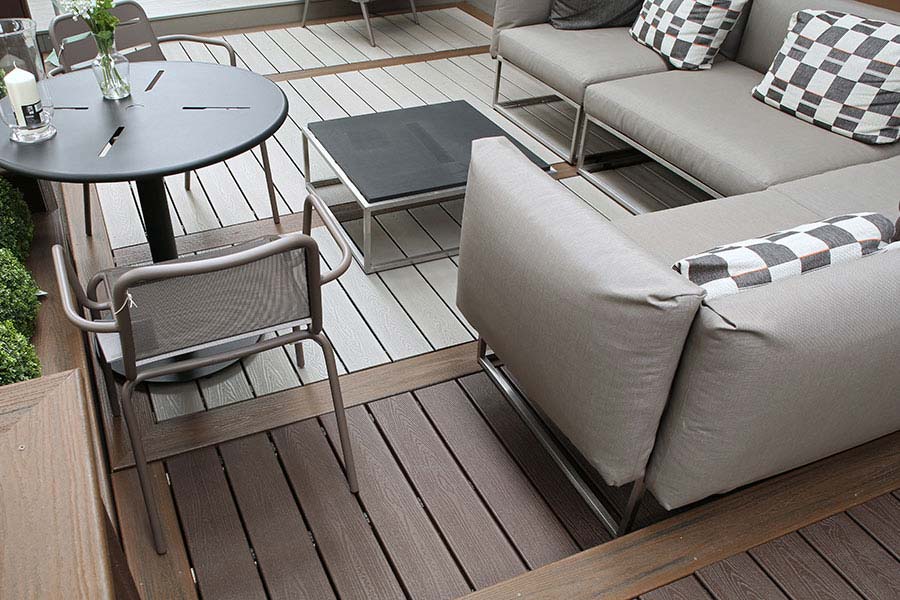
- Breaker boards add a dimension to the design of the deck and help distinguish between different areas. Using breaker boards in the deck design also means that boards don’t have to be butted up against each other. When boards are butted up to each other, make sure you align boards from the middle rather than the edge to allow for expansion of boards.
- Boards often have a camber / bow in the board – especially the longer lengths like the 4.88m. These are easily resolved when installed. Before installing the board, turn it around so the camber is curving outwards. Start installing the board from one end. As you move along the board, gently push the board into line and use the clips or screws to secure it.
Important points about gapping
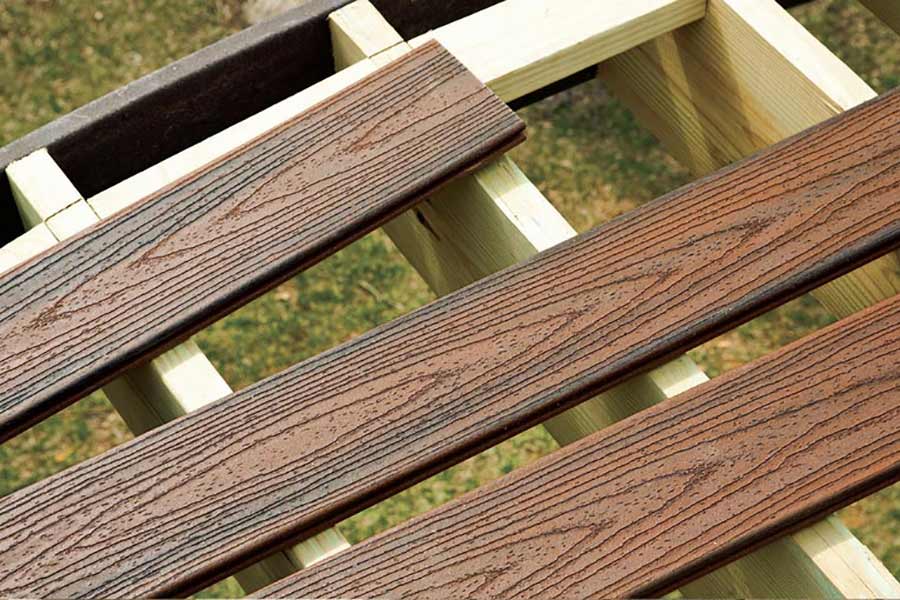
As temperatures change, the deck boards will expand and contract. Therefore, it is essential to install the boards with gaps as recommended below. The size of the gaps required also depends on the temperature in which they’re being installed so please check the Trex Installation guide.
- All deck boards must always be installed with a 6mm side-to-side gap. The Trex Hideaway Hidden Fasteners automatically measure the 6mm gap between grooved edge boards but you must still ensure the 6mm gap with the square edge boards.
- All deck boards must always be installed with a 3-5mm end-to-end or end-to-width gap between boards.
- There must also be a 6-13mm abutting gap between the boards and other objects such as garden walls or houses.
